Diamond Painting Instructions For Beginners
There are some affiliate links below, but they are all products I highly recommend. For more info, view my disclosure here.
Are you looking for an easy and fun craft to help you pass the time? Look no further than diamond painting! This relatively new art form is quickly gaining popularity among crafters of all ages. With its vibrant colors and creative designs, it’s no wonder that diamond painting is becoming a go-to activity for those looking for something different to do. In this article, we’ll provide you with diamond painting instructions for beginners so you can get started crafting away!
Diamond painting is a unique way of creating beautiful artwork using tiny colored rhinestones and a sticky canvas. It’s an easy craft that requires very little artistic ability or tools—just the ones supplied when you purchase your kit. What’s more, you don’t have to be a professional painter to create a stunning piece of art! All that’s needed is patience and attention to detail as well as a few helpful tips and tricks.
With the right guidance, anyone can make amazing artwork using diamond painting techniques. We’ll explain the basics of how to get started on your diamond painting journey, provide helpful hints and advice along the way, and show you step-by-step instructions on how to create your very own masterpiece! So grab your supplies and let’s get started!
Definition
Diamond Painting is a craft that uses tiny resin diamonds and a diamond painting canvas to create colorful designs. It’s similar to paint-by-numbers, but instead of using paint, you use small “diamond dotz” in the corresponding numbered areas to complete the artwork. Most diamond art kits come with everything you need to get started, such as the diamond painting canvas, resin diamonds, tweezers and wax. Additionally, there are many different types of diamond painting kits available such as full drill paintings or partial drill paintings. Diamond painting pe is even an option for those who want to take their DIY experience with them wherever they go. With patience and practice, anyone can create stunning works of art with a diamond painting kit.
Supplies Needed
Now that we understand what diamond painting is, let’s look at the supplies we’ll need to get started. To do this craft, you need a few basic items. Plastic film, like a clear PVC sheet, is essential as it will be placed over the pattern so that you can pick up the resin rhinestones with the diamond applicator and place them on the canvas. You can find these supplies at most craft stores or online stores that specialize in diamond embroidery and diamond painting kits. Other items you may want to consider are wax or tweezers for picking up those small stones, a hoop or frame for keeping your canvas taut while you work, and some light sources like a lamp or window for better visibility. When gathering your supplies, make sure to double check that all pieces match your selected pattern size. With all of these items in hand, you’re ready to start your masterpiece!
Setting Up The Canvas
Before you start a diamond painting project, the first step is to set up the canvas. To do this, you’ll need to remove the sticky plastic cover of the canvas and set it aside. Then, carefully unroll the canvas, making sure that none of the colored squares are torn or damaged. Next, place the clear plastic on top of the canvas and secure it with masking tape along all four sides. This will ensure that all of your diamonds stay securely in place while working.
Depending on your project, you may be doing a full drill or partial drill diamond painting design. If you’re doing a full drill pattern, make sure all of the diamonds fit into their respective squares on the canvas. For partial drills, make sure there is enough space around each diamond so that they can be placed easily onto the canvas when ready.
Selecting The Right Tools
Once your canvas is set up and ready to go, it’s time to select the right tools for diamond painting. There are two types of diamonds: square and round. Square diamonds are easier to apply than round, but you have more control over the placement when using round diamonds. Cross stitch is sometimes used for diamond painting, but it can be difficult for beginners to use accurately. If you’re just getting started with diamond painting, consider purchasing a kit that already includes the necessary tools and supplies.
Diamond painting kits often include both square and round diamonds, as well as a tray, tweezers, a pen-like applicator tool and sometimes even pink wax to help with sticking the drills onto the canvas. The applicator tool is great for pushing down each diamond and making sure they are placed correctly. The tweezers are useful for picking up individual diamonds without smudging them or ruining their shape. The pink wax helps secure the diamonds in place on the canvas until they dry completely. All of these items will make it easier to complete your diamond painting project quickly and accurately!
Creating The Color Chart
When you open your diamond painting kit, you’ll find a coded adhesive canvas, a variety of color diamonds, an inventory sheet and an applicator tool. The inventory sheet is used to help you keep track of the color diamonds. On the back of the canvas you’ll find a protective sheet which helps prevent static electricity from occurring.
To begin, you’ll need to create a color chart according to the code on your canvas and the numbers in your inventory sheet. This will help you easily identify and match each diamond with its corresponding number. To do this, simply use the applicator tool to pick up one diamond at a time, place it on the canvas where it belongs, and then press lightly until it stays in place. Repeat this process until all of the diamonds are securely placed on their respective locations on the canvas.
Organizing The Diamond Beads
Now that you’ve created your color chart, it’s time to start organizing the diamond beads. Find a flat surface that you can work on and place a small tray next to it. Then, take out your pre printed canvas and locate the right side of the canvas. To begin, find a square drill from your color chart and take out one or two diamond beads from each of the appropriate colors. Place these diamond beads in the small tray to make them easier to access as you work on your project. Repeat this process for all of the drills until all of the diamond beads have been placed in their corresponding colors in the tray. You are now ready to start completing your diamond painting project!
Applying The Diamonds To The Canvas
Applying the diamonds to the canvas is one of the most exciting steps in diamond painting. All you need is a diamond painting kit, a diamond painting pen and some flat-backed rhinestones. To start off, remove the protective film from the canvas. Then pick up your diamond pen and dip it into the wax inside your kit, this will help pick up diamonds easier. Follow step-by-step instructions on how to apply the diamonds to your canvas. The first step is to find specific colored rhinestones that match the numbers on your canvas and place them onto each square one by one. After you finish applying all of your diamonds, go over each one with your diamond pen again just to make sure they are secure and won’t fall off easily. And that’s it! You’re ready for the next step in completing your diamond painting masterpiece.
Finishing Techniques For Beginners
Once your canvas is complete, it’s time to finish off your diamond art painting. Depending on personal preference and the type of finished work you desire, there are a few primary tools that are necessary.
For intricate designs, a clear cover will help to protect all of your hard work. You can choose from a variety of finishes such as glossy or matte that will encapsulate your masterpiece. You can also frame your work for extra protection and to display it in a beautiful way.
No matter the approach you take, finishing your diamond painting successfully is always rewarding. Once you have created something that you’re proud of, you can proudly display it for everyone to admire.
Advanced Finishing Techniques
Advanced diamond painting techniques can take your artwork to the next level. To get started, you’ll need to select and organize your diamond colors. Pen tool kits are a great way to separate and store different colors within resealable containers. This will make it easier for you to find and access diamonds when needed.
When working on a large area, it’s important to follow some easy steps. First, begin by outlining the shape of the area with your chosen color diamonds, then fill in the details with other colors as desired. For more tips and tricks, be sure to check out The Ultimate Diamond Painting Guide for Beginners. It provides helpful guidance on how to achieve advanced finishing techniques that will take your projects up a notch!
Framing And Displaying Your Artwork
Now that you have completed your diamond painting, it is time to frame and display your artwork. Before you begin, make sure that all of the diamonds are secure in their places on the canvas. If some of them have shifted during the painting process, you can easily place them back in the right place by using a small plastic tray to pick them up and place them back in the correct spot.
Once all of the diamonds are secured in their places, you can then start framing the entire canvas. You may choose from a variety of different frames available depending on what type of look or style you want for your diamond painting. After framing it, your artwork is ready to be hung or placed wherever you would like to display it.
Diamond paintings make great gifts as well, so if you decide to give yours away, consider adding a light pad to add extra beauty and elegance to your artwork. It will also help protect the colors from fading over time due to exposure to natural light sources. With these tips in mind, you can now proudly display your beautiful diamond painting!
Tips For Maintaining Your Painting Over Time
When you’re done with your painting, it’s important to maintain it so that it will last. One way to do this is by working in small sections at a time, and make sure each diamond corresponds to the right symbol on the canvas. You should also use the flat side of the diamonds rather than the pointed side. When storing your painting away, pick a good place that will keep it dust-free and safe from any little things that could damage it. If you have any loose diamonds, simply press them down with tweezers or even just a little bit of pressure from your fingertip. This will help keep your painting looking beautiful for years to come.
If you take good care of your diamond painting, you can be sure it will last for many more years and bring joy for generations to come!
Troubleshooting Common Issues
If you run into any issues while diamond painting, the first thing to do is look at the instructions that came with your kit. If that doesn’t help, try using a magnifying glass to make sure you’re placing each diamond on the corresponding symbol. Make sure that you’re using the next color in sequence and not skipping ahead. If diamonds are falling off or not sticking, it could be because of poor quality adhesive or an issue with the canvas material. In these cases, it’s best to start over with a new canvas piece.
When it comes to common shipping problems like receiving an incorrect item or missing pieces, contact the seller right away. Most sellers are very helpful and willing to work with customers to resolve these issues in a short time frame. Otherwise, you may have to wait much longer for a resolution if it goes through customer service. It’s important to take action quickly so your project can move forward without delay.
Creative Variations On Traditional Instructions
Getting started with diamond painting is a great way to unleash your creativity and learn a new craft. The first thing you’ll need is a diamond painting kit, which can come in many different designs. Once you get your first diamond painting kit, it’s time to get creative! Try out different patterns and techniques with the diamonds, such as making a border or creating an image within the larger pattern. You can also use a small amount of wax on the back of your diamonds to make them easier to place. This will help you create unique designs and give the project more depth. Diamond painting is an enjoyable craft that allows you to explore your artistic side. Whether it’s your very first diamond painting kit or one of many, there are plenty of ways to make each piece unique.
Examples Of Completed Paintings
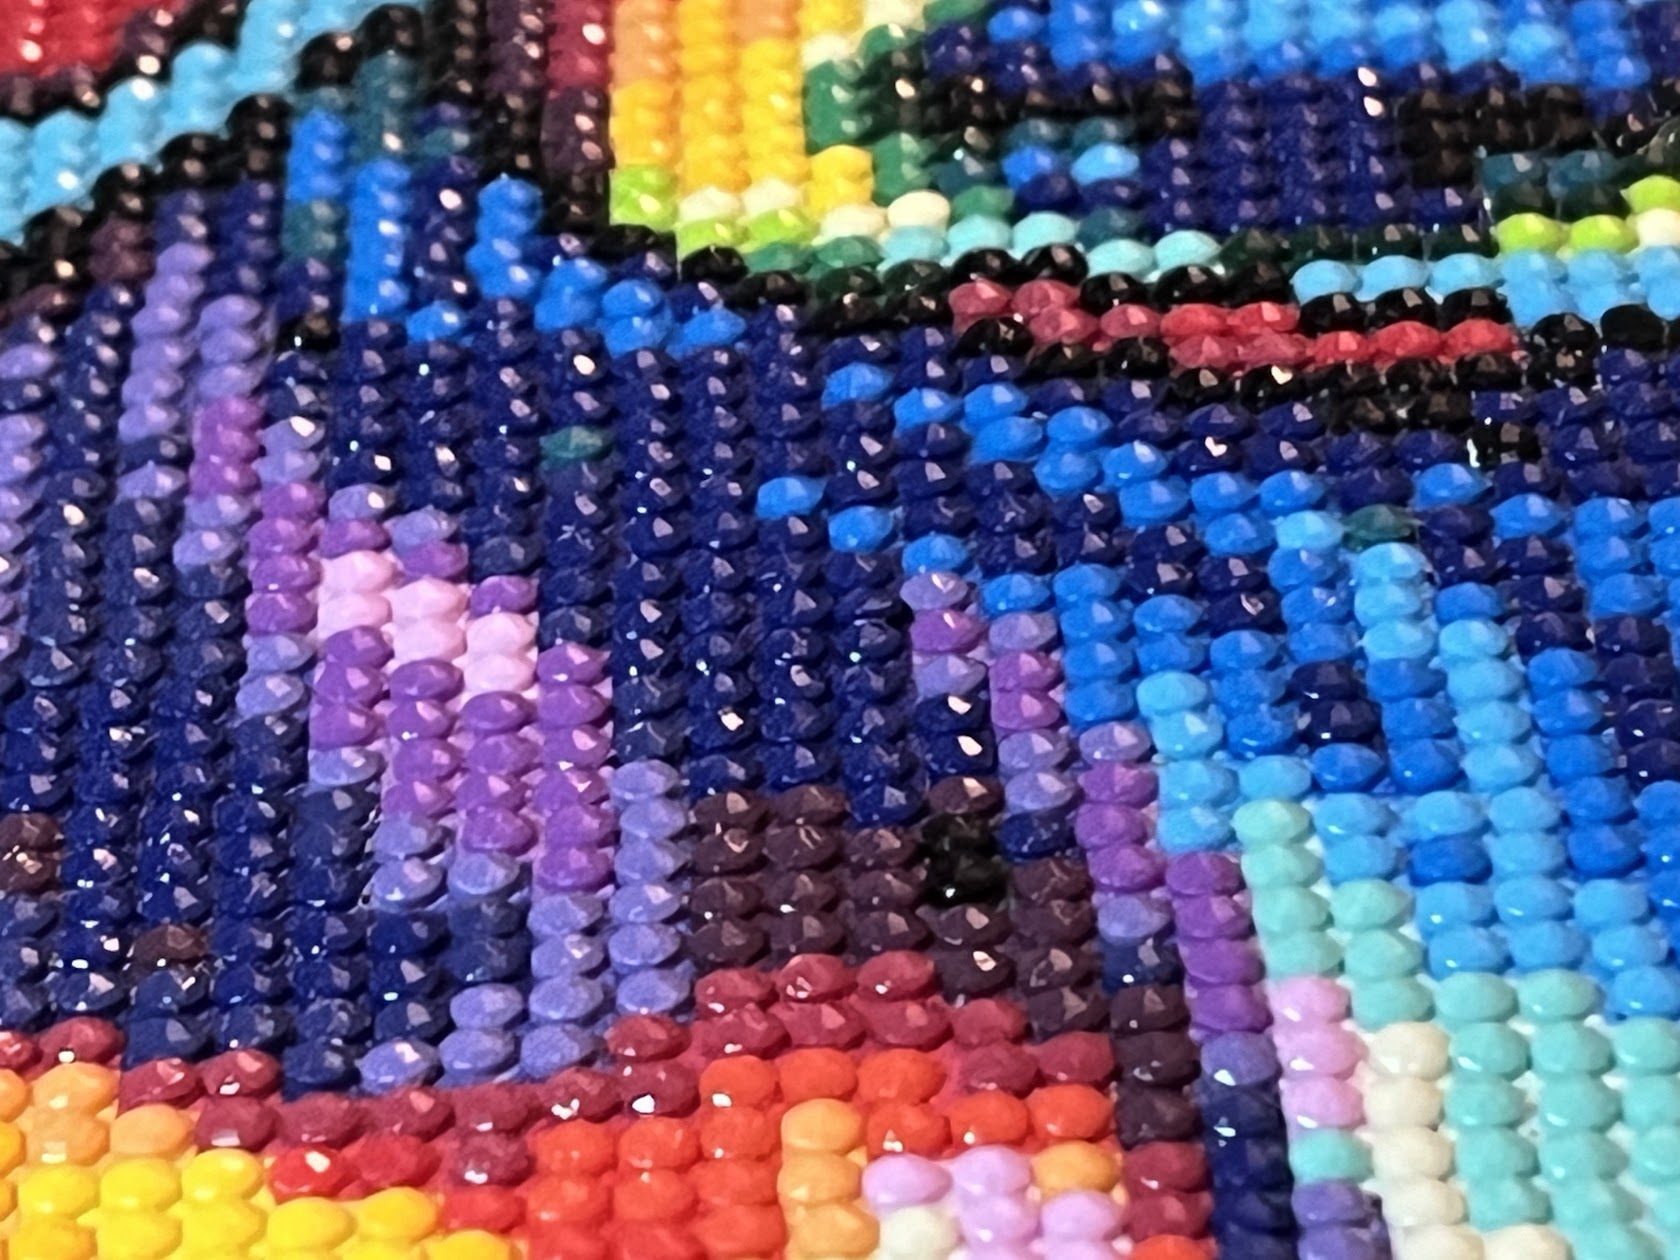
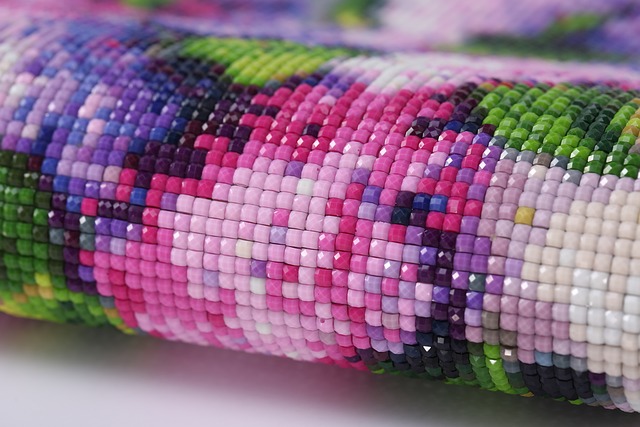
Diamond painting is a fun and creative hobby that can be enjoyed by left-handed crafters, too. It’s amazing to see what experienced diamond painters have created with the simple supplies of diamond drills, wax, and a canvas. Here are some beautiful examples of completed paintings from around the world.
A stunning painting of a jaguar in French Guiana was crafted using shimmering turquoise blue diamonds. An exquisite landscape of a beach in Equatorial Guinea was brought to life with white and pink diamonds. A vibrant mosaic of a tropical island in New Caledonia showed off its bright colors with yellow and orange diamonds. Finally, an intricate piece from South Korea portrayed a garden scene and was made with Diamond Art Club’s special sparkle diamonds.
No matter where you look, diamond painting has something unique to offer every artist. Whether you’re just starting out or already have some experience, it’s easy to find inspiration for your next project!
Additional Resources
For those looking for more information or resources on diamond painting, there are a few places to start. Côte d’Ivoire offers the Diamond Painting Academy, which offers classes and tutorials on this craft. Leisure Arts is another great resource; they offer a variety of books and kits for all skill levels. South Africa has a wealth of diamond painting resources, including the Diamond Painting Institute and many online stores offering supplies. For those who have yet to try diamond painting, Papua New Guinea also offers several beginner-friendly kits using foam noodles instead of diamonds.
Finally, if you’re looking for some inspiration, there are plenty of websites where you can find images of intricate designs and videos showing how the colors of the diamonds work together to create beautiful pieces of art.
Conclusion
In conclusion, diamond painting is an enjoyable and creative activity that can be enjoyed by anyone. It’s a great way to spend an afternoon and can also provide a sense of accomplishment. With the right supplies and instructions, even novice painters can create beautiful works of art. With a little practice and patience, you’ll be able to produce stunning paintings quickly and easily.
Diamond painting is also full of possibilities; you can try new techniques or experiment with different colors. Plus, it’s fun to come up with creative variations on traditional instructions. And if you ever get stuck, there are plenty of resources available to help you out.
So why not give diamond painting a try? With the right supplies and instructions, you’ll have a masterpiece in no time at all! There’s no better time than now to explore this exciting art form – so grab your supplies and get started today!